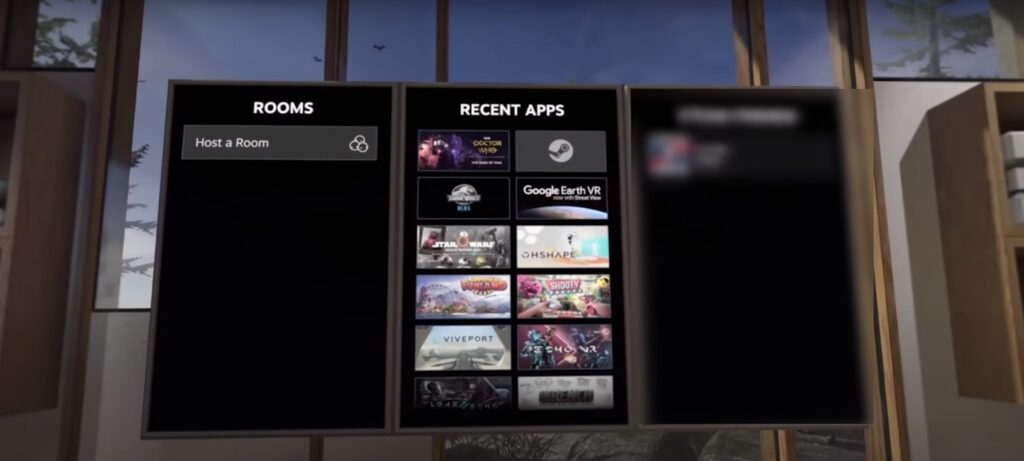
How to Play Steam VR Games on Oculus Quest 1 & 2 Wirelessly Using Virtual Desktop (In 5 Easy Steps)
(UPDATED 2022) The Easiest Way to Setup and Use Virtual Desktop (Max 10 Min), How to Use Virtual Desktop With Steam VR and How to Play Steam VR Games via Virtual Desktop…
There are many Exceptional, Sensational, and Remarkable VR games available for the PCVR headsets Rift S, Valve Index, HTC Vive, etc.
Games like Half-Life Alyx, Asgards’ Wrath, Skyrim VR needs huge hardware power to perform at their optimum level. The PC VR headsets can play these VR games in high resolution with highly polished graphics.
And therefore these astonishing VR games can’t be played on Oculus Quest due to its hardware limitations as it uses its build-in Hardware while PCVR headsets use your PC power and graphics card to provide bright, crisp, and highly detailed environments in Steam VR Games.
But now you can play PCVR games like Half-Life Alyx, Skyrim VR, and other AAA VR Games without sacrificing quality and graphics fidelity and without any wires as its the BEST wireless method to play Steam VR games on the Oculus Quest 1 & 2. And that software is Virtual Desktop.
It only takes 5-10 minutes to get it all set up and this is the Ultimate, comprehensive, and Illustrated guide on How to Use Virtual Desktop to play Steam VR games on the Oculus Quest.
You don’t have to jump from articles to articles and videos to videos, this is the one-stop post on Setting up Virtual Desktop properly without any errors.
All the required software and resources links are included so you don’t need to worry about searching the software by yourself. So let’s set up Virtual Desktop to Play Steam VR Games on Oculus Quest Wirelessly without any Hassle and Errors…
In This Post :
How to Play Steam VR Games on Oculus Quest 1 & 2 Using Virtual Desktop
*Virtual Desktop Requirements*
- 5 GHz WiFi Network
- Connect your PC via Ethernet and not on WiFi, this enables faster data transfer without any Latency issues
- Try to play as close to your router as possible
- Minimum PC Requirements:
Processor: Core i5-7500 / Ryzen 5 1600
Memory: 12 GB RAM
Graphics: GTX 1060 / RX 580 – 6GB VRAM - You’ll also need to purchase and download the desired VR game that you wanted to play from Steam
Step 1: Purchase The Virtual Desktop App From Oculus Store
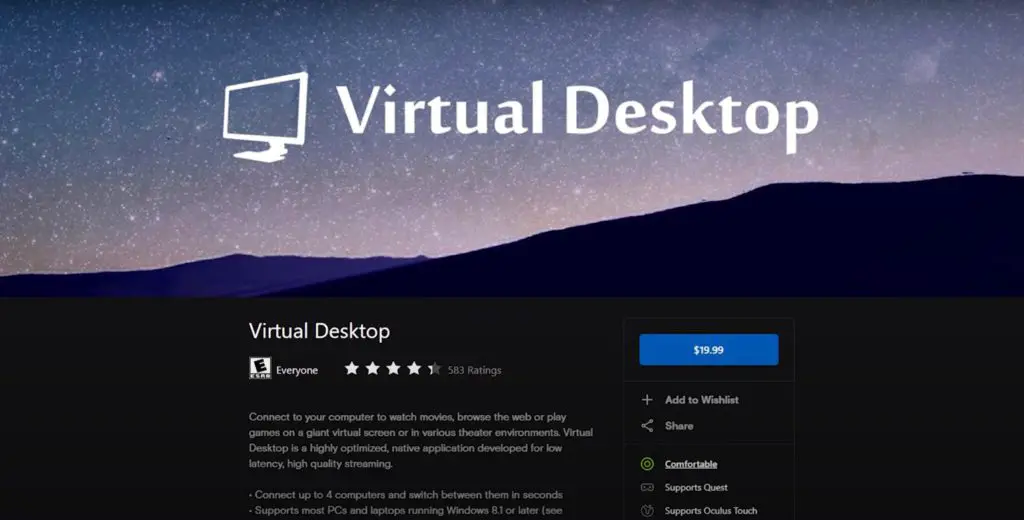
The first thing you’re going to have to do is purchase the Virtual Desktop software from the quest store and then download it.
You’re also going to need a High-speed Wi-Fi connection of 5 GHz for this to function reliably. It also works best if your PC is directly connected to your router using an Ethernet cable.
Step 2: Enable Sideloading Via SideQuest
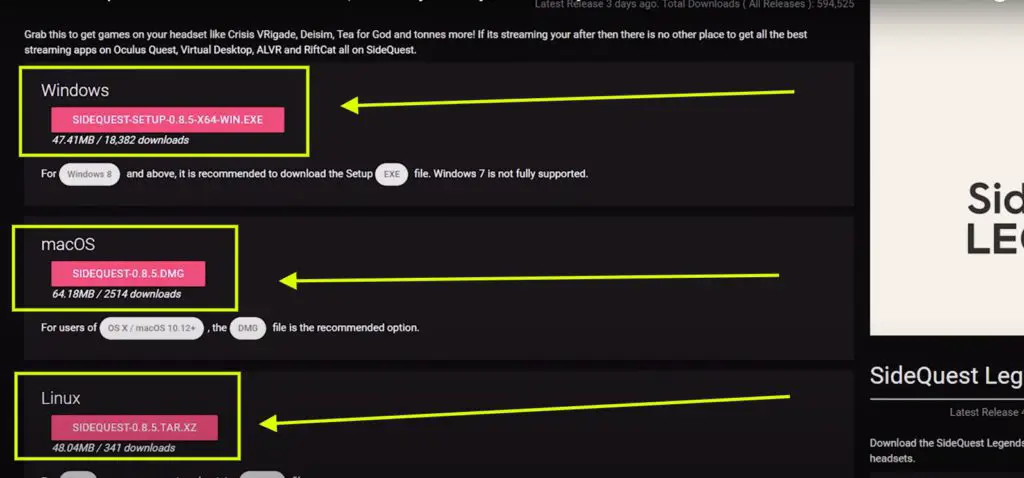
Next, we’re gonna have to Sideload the patched Virtual Desktop apk from SideQuest.
In order to do that : First Setup Sidequest and then Follow the Next step.
If you’re not familiar with side loading and side quest, it’s effortless to get it all set up.
So I’ve linked a couple of tutorials on how to start sideloading, or you can read the ultimate guide on sidequest. It takes maybe five to ten minutes max to get it all ready to go.
Step 3: Sideload Virtual Desktop Patch
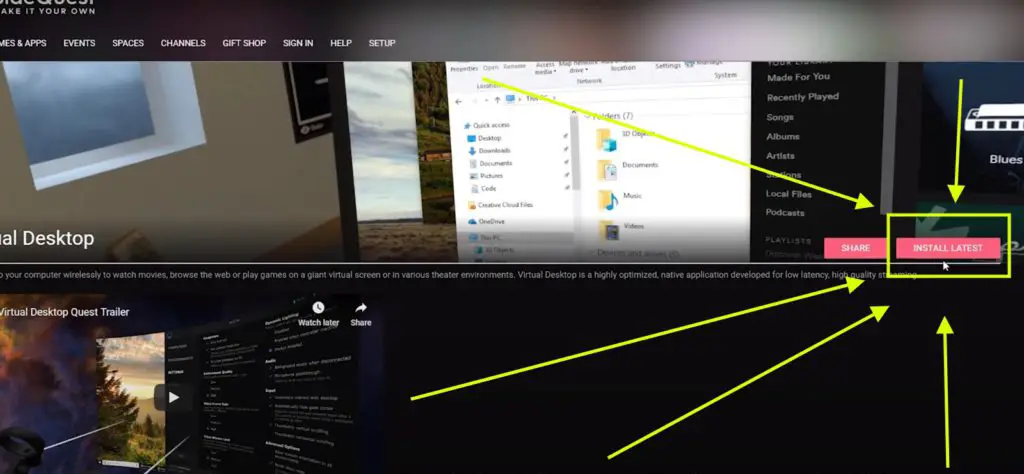
Step 3 is to download the Virtual Desktop apk from SideQuest. Follow the Link > VD on Sidequest and then click “Install Latest”. Once the software is installed then There’s one last step on the PC.
Step 4 : Download Virtual Desktop Streamer App
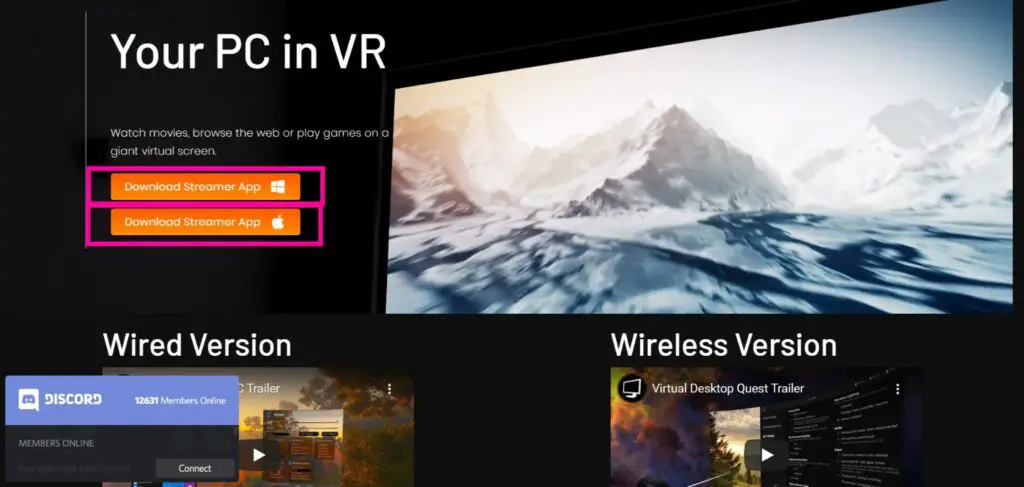
Head over to VRdesktop.net and download the Virtual Desktop Streamer app.
And if you’re using MAC then download the Streamer App For MAC.
Install the Streamer app and then once it downloads, open it and make sure to enter your Oculus Username and hit Save, that’s it on the PC side.
You’d Love It!:
How to Sideload Oculus Quest Using SideQuest: Windows & Mac
Step 5: Connect Your Oculus Quest (1 Or 2) To The PC Via Virtual Desktop
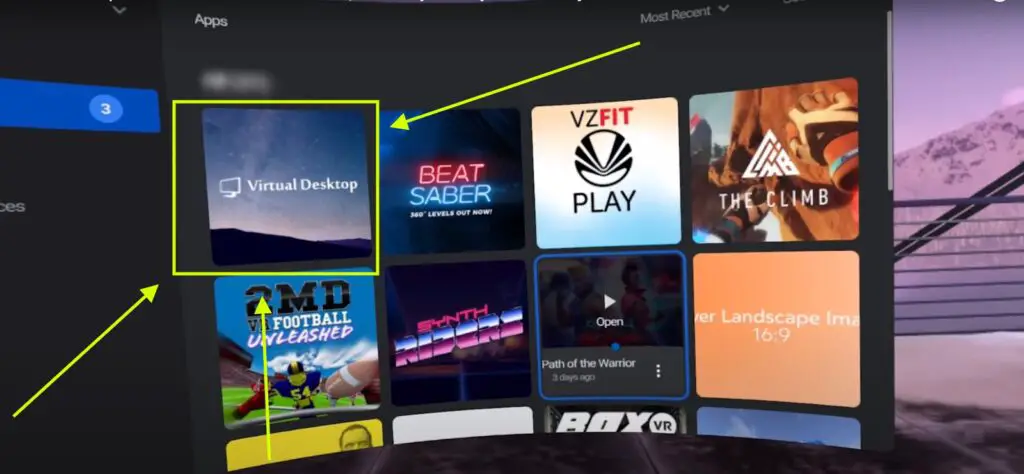
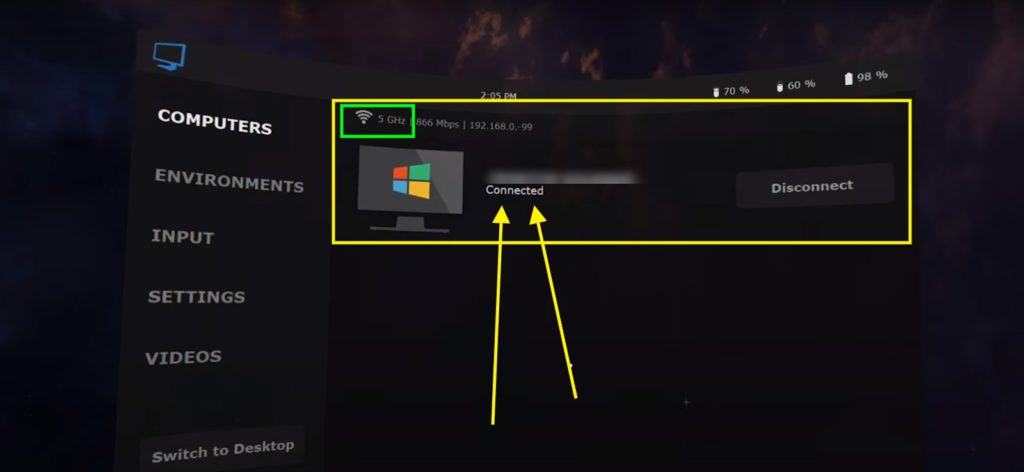
Now it’s time to put on your Oculus Quest or Quest 2 if you’re using that. Once you are inside of your quest, navigate to the Virtual Desktop application, and open it. Wait for your PC to show up on the list and then click on it.
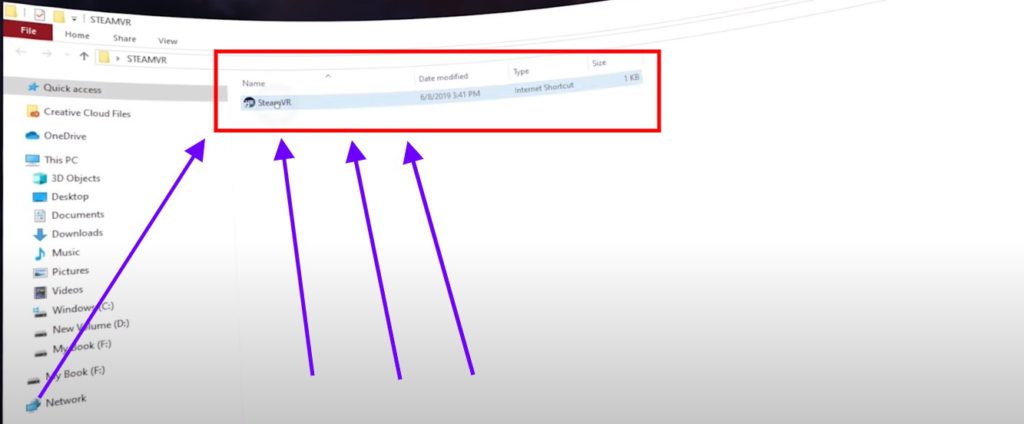
If it doesn’t load you in automatically then navigate to where you have Steam VR.exe located and double click on it to launch Steam VR.
There you go, now you are all set to Wirelessly Stream Steam VR games on your Oculus Quest. And finally, you can Play any PCVR or Steam VR games on your Oculus Quest 1 & 2
Recommended:
How to Use Oculus Link
So That’s how you use Virtual Desktop with Oculus Quest 1 & 2 in just 5 easy and simple steps that take only Max 10 mins to set up. And now you can play any Steam VR games on oculus quest 1 & 2 Wirelessly using V.D.
The wireless experiences will depend entirely on how fast your internet speed is. A faster home network will guarantee a higher quality wireless experience. Either way, you’ll be experiencing the best VR has to offer
If you run into any problems please let me know down in the comments as well and I will do my best to help you out. And If you find this article useful, then make sure to share this article with your friends and family and let me know you care.
And if you have any, let’s say questions, then be sure to drop them in the comments below.
Check out Other “Top X’s ” for the Oculus Quest 1 & 2
Top 25 Best Oculus quest Multiplayer games – Co-Op , Team quest Games
The Absolute Best Oculus Quest Games And Experiences to Try in 2021
Top 9 Best Oculus quest Horror Games | Scariest VR games on Quest
How To Setup & Use Roblox VR On Oculus Quest: 4 Steps
The Analytics Of The Emerging VR Industry: Quest 2 Rises!
FREE GAMES ALERT!:
Top 25 Best Free Oculus Quest Games 2021


